Easy Installation
Designed for hassle-free assembly.

WATCH OUR INSTALLATION VIDEO, IT'S EASY.
North's in-ground trampolines are designed for easy assembly and DIY installation. Over 80% of our customers take care of the assembly and installation themselves or with the support of family and friends.
Many customers also hire local gardening or landscaping companies or simply get local help to dig the hole.
If you hire a horticultural specialist, send them the link to this page so they can see the explainer video or print the fully downloadable instructions below.
Manual for round ground trampolines
1. DIG OUT THE HOLE
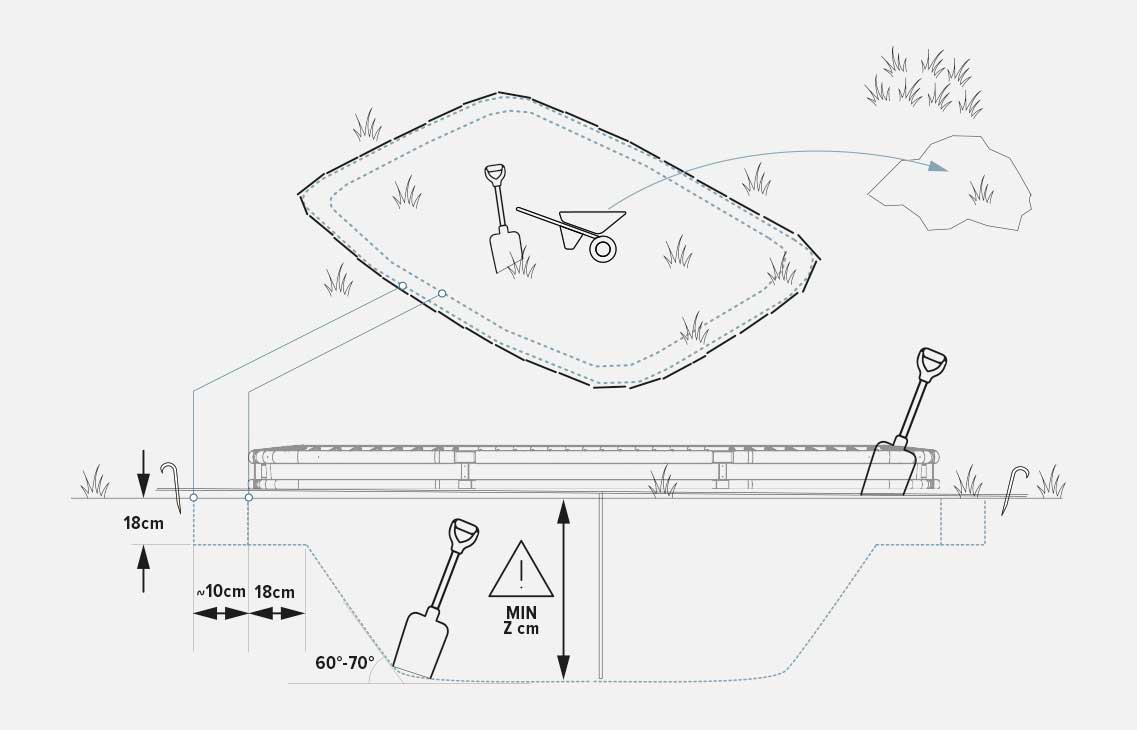
Mark a hole that is a few centimeters larger in diameter than that of your trampoline. This gives you some wiggle room when you put the trampoline in the hole.
Dig 18 cm of soil evenly over the entire hole. Then dig an inner hole in the middle, the diameter of which is 80 cm smaller than the size of the trampoline; it should be bowl-shaped and deep according to the instructions. This leaves a rim on which the trampoline frame rests.
-TOP TIP
: It's difficult to determine the exact size of the hole – the few extra centimeters will make your job easier. This additional space is replenished at the end. Keep some of the excavated top layer of soil near the hole for filling.
2. ASSEMBLE THE FRAME
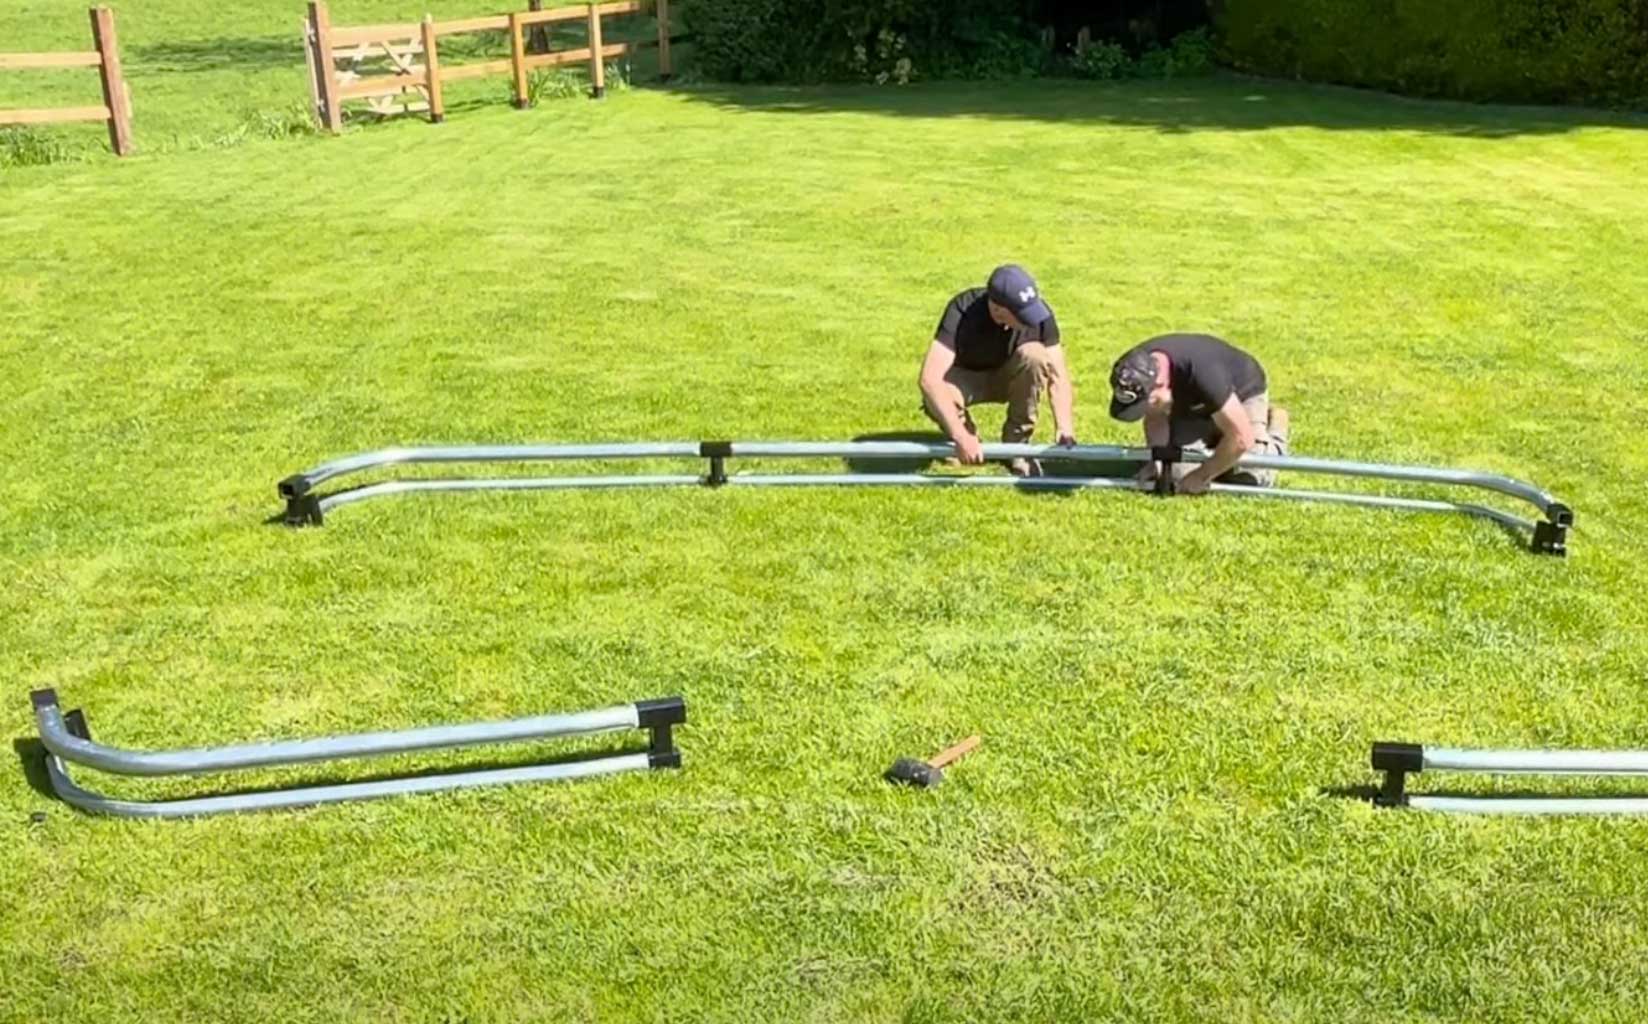
Put the upper and lower parts of the trampoline frame together, attach the jumping mat and springs, and mount the retaining wall to the outside of the frame.
-TOP TIP
Attach the springs to the 12 o'clock position first, then to the 6 o'clock position, and then to the 3 o'clock and 9 o'clock position. This ensures even tension and makes it easier to mount the remaining springs.
3. PLACE THE TRAMPOLINE IN THE HOLE
Lift the trampoline into the hole and place it on the edge, making sure the frame is the right height. Fill in the gap on the outside of the frame, compact the soil and lay new lawn.
-TOP TIP
: When filling up, compact the soil as tightly as possible with the handle of your spade.

4. ATTACH THE VENTILATED PADS
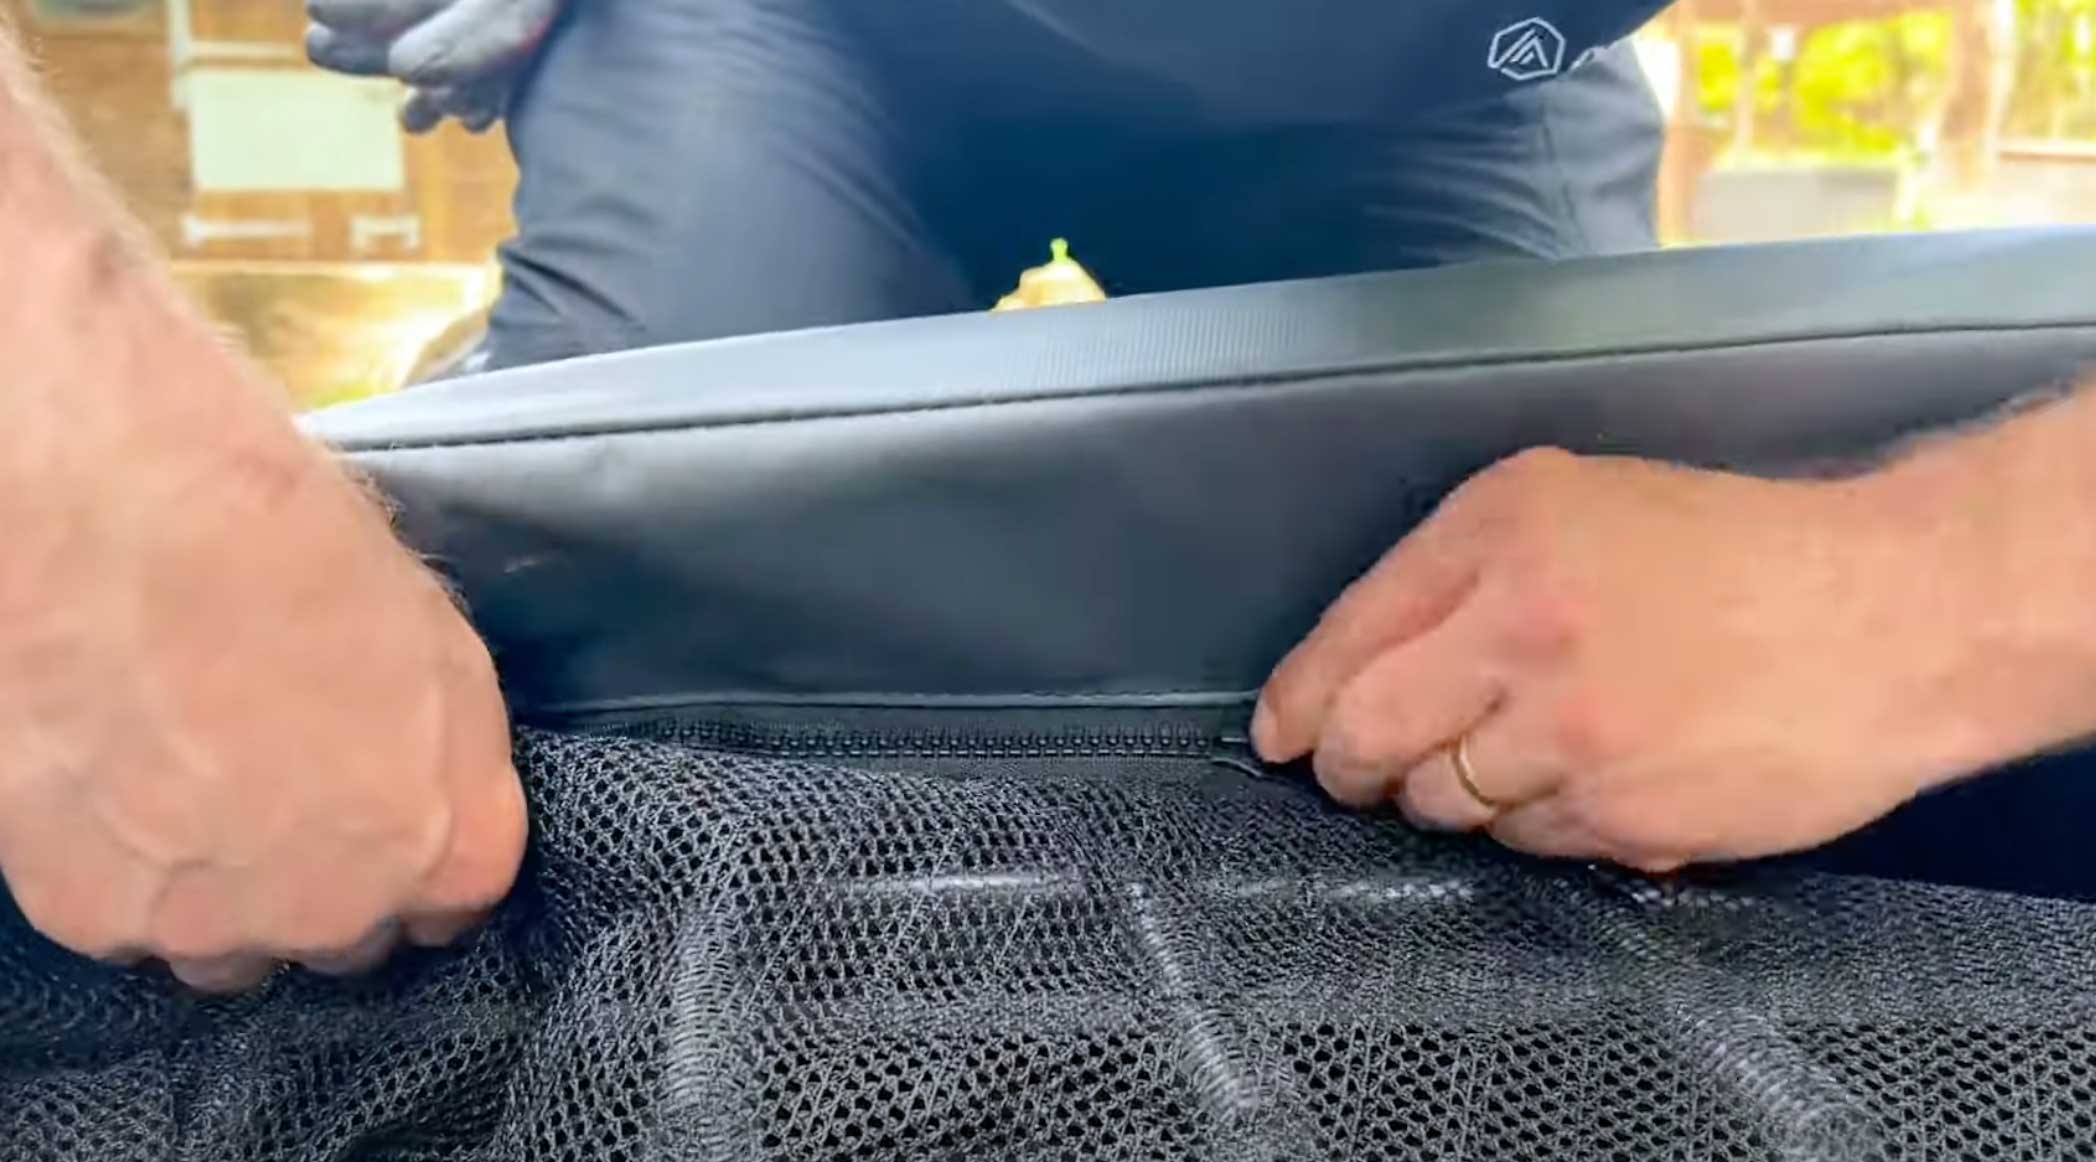
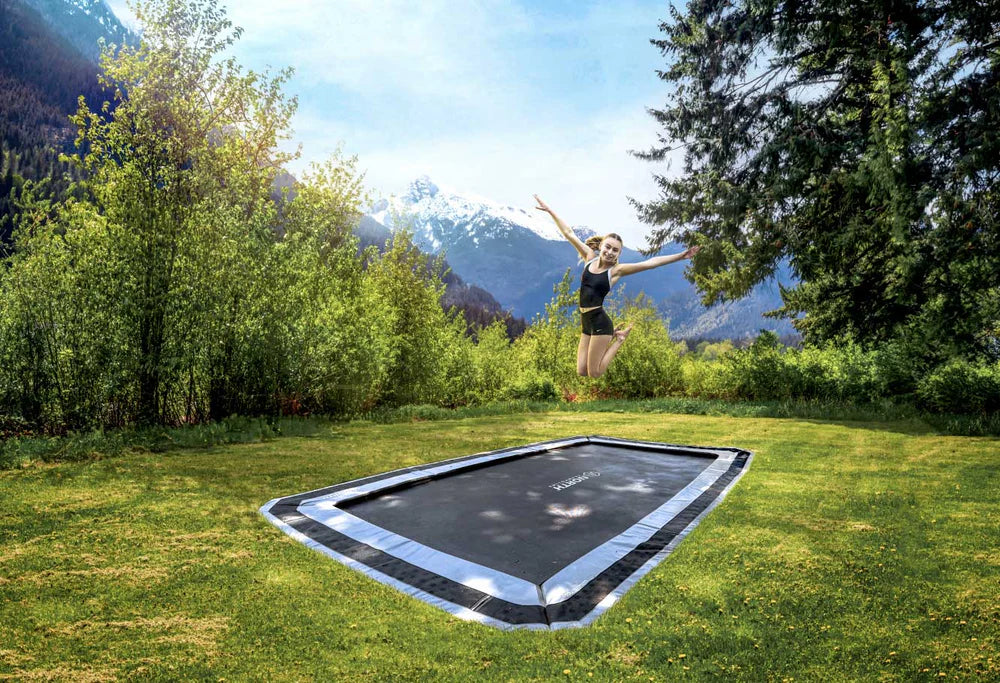
Finally, attach the ventilated pads to the frame and you can enjoy your in-ground trampoline!
-TOP TIP
Use a long screwdriver to push the elastic toggles between the trampoline frame and the retaining wall to secure the pads.
5. JUMP!
Enjoy many years of family fun and exercise with your new
North in-ground trampoline!
HOLE DIMENSIONS
| Trampoline size / diameter of the outer hole | Diameter of the inner hole | Minimum Hole Depth (Z) |
|---|---|---|
|
Rectangle 300 cm x190 cm |
260 cm x 150 cm |
90 cm |
|
Rectangle 360 cm x 250 cm |
320 cm x 210 cm |
100 cm |
|
Rectangle 460 cm x 310 cm |
420 cm x 270 cm |
110 cm |
|
Rectangle 520 cm x 370 cm |
480 cm x 330 cm |
120 cm |
|
Around 300 cm |
260 cm |
100 cm |
|
Approx. 430 cm |
390 cm |
110 cm |
Related Articles

Trampoline Safety
Younger children may not yet have the balance and coordination needed for safe jumping. Younger children should always be closely supervised, and many safety experts recommend allowing only one jumper at a time to reduce the risk of collisions.

Which Trampoline Shape?
Historically, all trampolines were round. Over time people have come to love the benefits of oval and rectangle trampolines, both of which have a more even jumping area...